
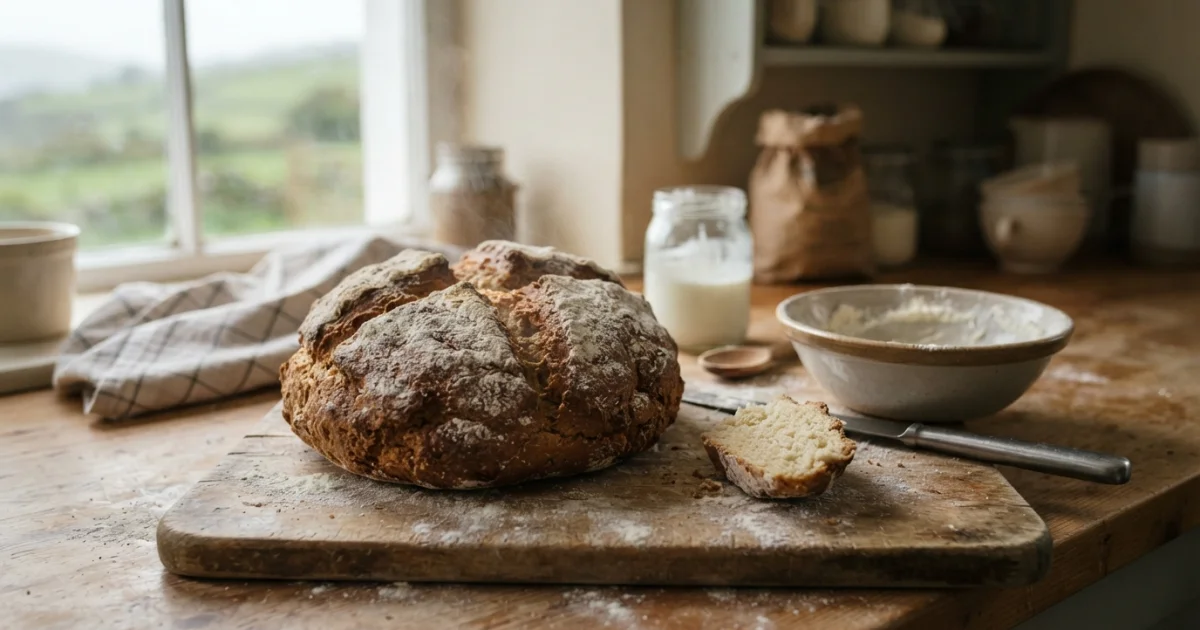
Step into a coastal kitchen in County Cork on a blustery afternoon, and the air carries an intoxicating aroma: caramelized flour, toasted grain, and the warm, sour tang of heated buttermilk. Traditional Irish soda bread offers an immediate, sensory contrast that yeast loaves simply cannot replicate. Its exterior is a craggy, deeply golden, flour-dusted armor that gives way under the knife to reveal a dense, tender, and steaming crumb. While artisanal sourdough demands days of schedule-tending and rhythmic stretch-and-folds, an authentic soda loaf requires no proofing, no starter, and practically no effort. It travels from your dry pantry shelf into a roaring oven in ten minutes flat, emerging under forty minutes later as a centerpiece of rustic baking.
The Science of Soda Bread: How Chemical Leavening Works
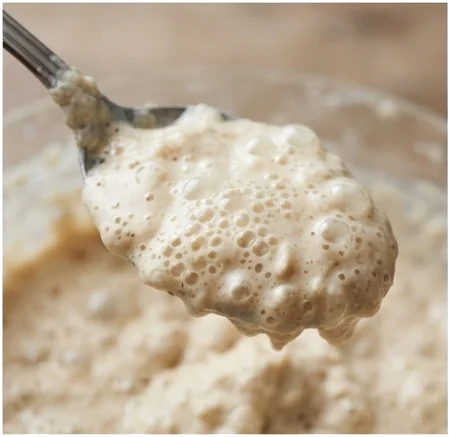
The alchemy of Irish soda bread does not belong to biology; it belongs to immediate kitchen chemistry. In conventional baking, Saccharomyces cerevisiae (baker's yeast) slowly digests simple sugars, producing carbon dioxide and ethanol over hours of fermentation. Soda bread bypasses this biological clock entirely through an instantaneous acid-base reaction. The alkaline agent is sodium bicarbonate (baking soda), and the acid is the rich lactic acid naturally present in cultured buttermilk.
The moment the buttermilk touches the dry flour and soda, the chemical reaction triggers without delay:
Sodium Bicarbonate (NaHCO₃) + Lactic Acid (C₃H₆O₃) → Carbon Dioxide (CO₂) + Water (H₂O) + Sodium Lactate
Microscopic bubbles of carbon dioxide foam instantly throughout the hydrated flour matrix. Because this gas production peaks the second the wet and dry components meet, working with deliberate speed is paramount. Once the dough is formed, it must enter the heat of the oven promptly before those fragile bubbles expand, pop, and escape into the kitchen air.
This volatile chemistry dictates the most critical rule of soda bread: mechanical kneading must be avoided at all costs. In a yeasted loaf, bakers knead vigorously to align gliadin and glutenin proteins into elastic gluten sheets that can withstand long fermentation. In a soda loaf, gluten development is the enemy. Quick breads rely on high moisture retention and zero gluten tension to maintain their signature crumb structure: dense but remarkably tender, crumbly, and cake-like. Overworking the dough yields a rubbery, impenetrable boulder rather than a tender country loaf.
The 19th-Century Origin of the No-Yeast Loaf
Despite its timeless aura, soda bread is not an ancient Celtic staple; it is an ingenious solution born of nineteenth-century agricultural reality. Bicarbonate of soda became widely commercially available across Ireland in the late 1830s. At the time, Irish climate conditions—cool, damp, and maritime—favored the cultivation of soft winter wheat. Unlike the hard, high-protein wheats of North America or continental Europe, soft Irish flour possessed very low gluten potential, making it notoriously poor for baking tall, yeast-leavened boules.
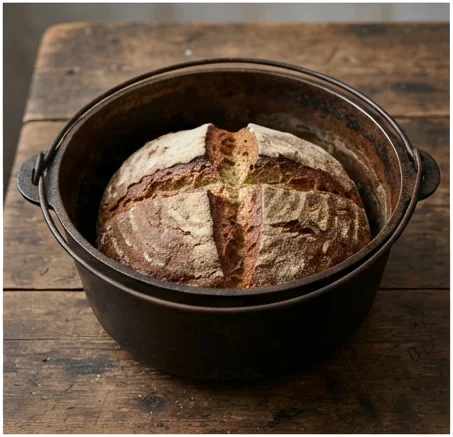
Irish home cooks quickly discovered that this low-protein flour was tailor-made for chemical leavening. Because hearths in rural cottages were rarely equipped with enclosed wall ovens, women baked their daily bread over open turf embers. They balanced flat rounds of dough on hanging iron griddles or nestled them within a bastible—a heavy, three-legged cast-iron Dutch oven with a lipped lid designed to hold glowing coals. The bastible trapped radiant heat and steam, creating the thick, crunchy bottom crust and distinctive rustic character that define authentic Irish soda bread to this day.
The Essential 4-Ingredient Pantry Formula
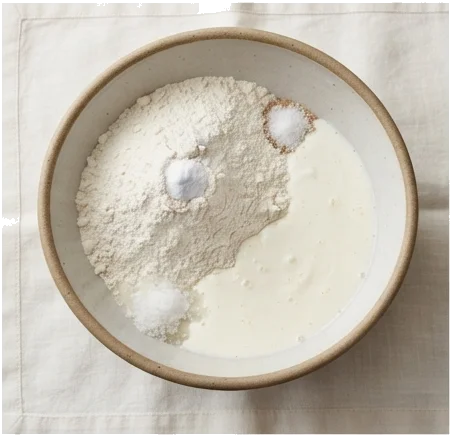
Purists in Ireland maintain a fierce defense of the traditional formula. An authentic daily loaf consists of precisely four elements: unbleached flour, baking soda, salt, and cultured buttermilk. There are no eggs, no vegetable oils, and no commercial yeast packets.
| Ingredient | US Customary | Metric | Functional Purpose |
|---|---|---|---|
| All-Purpose Flour | 4 cups | ~480–500 g | Moderate protein (10–11%) provides light structure without excess toughness. |
| Baking Soda | 1 tsp | 5 g | The sole leavening agent; must be free of lumps and evenly dispersed. |
| Fine Sea Salt | 1 tsp | 5 g | Sharpens wheat flavor and neutralizes any lingering alkaline aftertaste. |
| Cultured Buttermilk | 1 3/4 cups | 420 ml | Provides lactic acid to activate the soda, tenderizing fat, and moisture. |
Purist bakers draw a strict boundary between this everyday hearth loaf and festive variants. Some heritage farmhouses rub 1 tablespoon of cold unsalted butter into the dry flour for a silkier crumb, or add a teaspoon of sugar to nudge crust caramelization. However, once you incorporate dried currants, golden raisins, eggs, or caraway seeds, you have crossed the border out of everyday soda bread and into the realm of Spotted Dog (or Railway Cake)—a beloved, richer tea bread, but a distinct creature entirely.
Reliable Buttermilk Substitutions and Flour Options
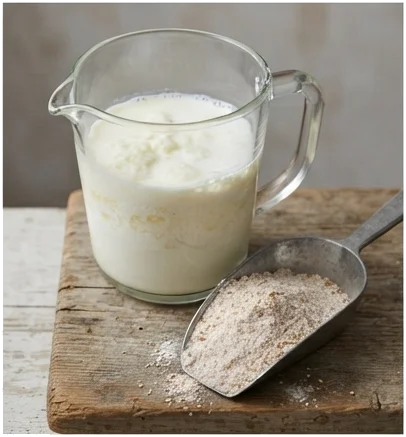
If true cultured buttermilk is missing from your refrigerator, do not abandon the bake. You can engineer an emergency acidified dairy wash that delivers the requisite chemical acidity. Pour 1 3/4 tablespoons of distilled white vinegar or strained fresh lemon juice into a liquid measuring cup, then add whole milk until the total volume reaches 1 3/4 cups (420 ml). Stir gently and let the mixture stand at room temperature for 5 to 10 minutes until it visibly curdles and thickens slightly. While this substitute supplies the required acid for the rise, keep in mind that full-fat, commercially cultured buttermilk contains complex lactic cultures and viscous proteins that yield an undeniably richer, more tender crumb.
For those longing for traditional Irish Brown Bread—the deeply savory, nutty loaf found on hotel sideboards in Galway and Dublin—adjust the base ratio. Simply replace 1.5 to 2 cups (approximately 180–240 g) of the white all-purpose flour with coarse, stoneground whole wheat flour, or balance it with a tablespoon of wheat bran or toasted rolled oats for rustic texture.
Step-by-Step Technique: The Minimal-Handling Method
Success with soda bread hinges on tactile restraint. Treat the dough with the gentleness you would afford a delicate scone or pie crust.
- Whisk the Dry Foundation: In a wide, shallow mixing bowl, combine 4 cups flour (~500 g), 1 tsp baking soda, and 1 tsp fine salt. Whisk vigorously for at least 30 seconds. Sifting or whisking thoroughly is non-negotiable; biting into a pocket of unmixed, bitter baking soda will ruin an entire loaf.
- Construct the Well: Use your knuckles or a wooden spoon to push the flour outward, clearing a broad, deep well in the absolute center of the bowl.
- Incorporate the Liquid at Once: Pour all 1 3/4 cups (420 ml) of buttermilk directly into the well. Resist the urge to add it in stages.
- The Open-Claw Technique: Hold your dominant hand stiffly with fingers spread wide like an open claw (or use a heavy, wide-tined dinner fork). Move your hand in swift, circular motions starting from the center and spiraling outward toward the rim of the bowl. Draw the dry flour gradually into the liquid center. Within 20 to 30 seconds, a rough, shaggy, moist mass will form. The dough should feel tacky and somewhat wet, not dry or powdery.
- Shape Without Kneading: Tip the shaggy mass out onto a clean work surface lightly dusted with flour. Flour your hands. Gently fold the dough over onto itself just 3 to 4 times—only enough to gather the stray dry crumbs into a coherent, soft ball. Do not press your palms into it, and do not knead. Pat the mass lightly into a round disk approximately 7 inches (18 cm) in diameter and 1.5 to 2 inches (4–5 cm) thick.
The Scoring Ritual: Folklore and Baking Function
Before the loaf meets the heat, it requires a definitive mark. Take a sharp chef’s knife, dip the blade in flour, and slash a bold, deep 'X' across the top of the disk. Cut nearly halfway down into the body of the dough, extending the incision completely from edge to edge.
This incision serves a vital engineering purpose. Because soda bread dough is dense and lacks the hollow network of yeast cavities, the deep cut allows intense oven heat to penetrate directly into the core of the loaf, baking the center evenly. Furthermore, as the chemical reaction detonates under heat, the slash dictates where the expansion occurs, preventing the loaf from rupturing along its base into an unsightly, lopsided shape.
Folklore offers an equally enduring explanation: Irish tradition dictates that scoring the cross blesses the food, protects the household from hunger, and cuts an escape route to "let the fairies out" before the loaf bakes.
Baking, Doneness Testing, and Cooling Protocols
Preheat your oven thoroughly to 425°F (220°C). Radiant, steady heat is essential to lock in the initial steam expansion before the soda expends its leavening power.
You have two excellent choices for your baking surface:
- The Cast-Iron Skillet: Place a 10- or 12-inch seasoned cast-iron skillet into the oven while it preheats. When hot, carefully transfer the scored dough disk into the skillet. The searing metal mimics the historic bastible pot, instantly frying the bottom crust in dry heat to create a shatteringly crisp foundation.
- The Sheet Pan: Alternatively, dust a sturdy baking sheet with flour or line it with parchment paper, placing the loaf directly in the center for a slightly lighter, all-around golden bake.
Bake at 425°F (220°C) for 30 to 45 minutes. Around the 30-minute mark, observe the crust: it should be deeply bronzed with pale crevices where the cross split open.
Never rely on appearance alone. Test doneness using two benchmarks:
- The Acoustic Check: Pick the loaf up with an oven mitt and rap your knuckles sharply against the bottom crust. It must emit a distinct, hollow drum-like sound. If it yields a dull, heavy thud, moisture remains trapped inside.
- The Thermal Check: Insert an instant-read digital probe thermometer straight through the side into the center of the loaf. An authentic soda loaf is properly set when the internal temperature reads at least 190°F (88°C). Anything lower indicates an unbaked, pasty core.
Once baked, transfer the bread immediately to a raised wire cooling rack. Allow the loaf to cool completely for at least one full hour before slicing. Slicing warm soda bread straight out of the oven releases trapped steam prematurely, collapsing the internal cell structure and resulting in a gummy, wet crumb.
Serving Suggestions and Storing Leftovers
Cut the cooled round into quarters along the original scored lines (known in Ireland as "farls"), then slice each wedge crosswise into thick, sturdy slabs. The ideal vehicle for this crumb is salted cultured Irish butter, applied generously enough to show teeth marks. Soda bread shines alongside savory, slow-cooked classics: mop up the rich, reduced gravy of a beef and Guinness stew, serve it with traditional shepherd's pie, or top thin slices with salted butter, cold-smoked Atlantic salmon, a squeeze of lemon, and fresh dill.
Because authentic soda bread contains zero refined fats, eggs, or commercial preservatives, its lifespan is short. It is at its absolute prime within the first 12 to 24 hours of baking. By day two, the starches begin to retrograde, causing the crumb to firm up. Keep the loaf wrapped tightly in a clean linen tea towel or sealed paper bag at room temperature for up to 3 days. On days two and three, skip fresh buttering and instead toast thick slabs under a broiler or in a dry skillet until the exterior crackles, then crown with butter and bitter orange marmalade.
For long-term storage, slice the cooled loaf completely, separate the slices with parchment paper, wrap the loaf tightly in heavy aluminum foil, and place it in an airtight freezer bag. Freeze for up to 2 months. Reheat individual frozen slices directly in a standard toaster for an immediate taste of the Irish countryside.
Frequently Asked Questions
Why is my Irish soda bread so dense and heavy?
The two most common culprits are over-kneading and expired leavening. If you treated the mixture like yeast dough by kneading it on the counter, you developed excessive gluten strands that turned the crumb tough and heavy. The dough should merely be folded 3 to 4 times to cohere. Alternatively, check the expiration date on your baking soda; if the can has sat open in your pantry for over six months, it may have lost its potency, failing to react with the buttermilk to create an airy rise.
Can I bake Irish soda bread in a cast-iron skillet or Dutch oven?
Yes, and it is highly recommended. A preheated cast-iron skillet or covered Dutch oven replicates the traditional nineteenth-century bastible hearth pot. Baking in a preheated cast-iron skillet produces a noticeably thicker, crunchier bottom crust. If using a lidded Dutch oven, bake covered at 425°F (220°C) for the first 25 minutes to trap internal steam, then uncover for the final 10 to 15 minutes to allow the crown to turn a deep chestnut brown.
What is the best substitute if I do not have buttermilk?
The most effective substitute is acidified whole milk. For the 1 3/4 cups required in this recipe, add 1 3/4 tablespoons of white distilled vinegar or fresh lemon juice to a measuring cup, top with whole milk to the 1 3/4 cup (420 ml) mark, stir, and allow it to sit for 5 to 10 minutes until lightly curdled. Plain, unsweetened whole milk yogurt thinned with a splash of milk to match buttermilk's consistency will also provide the required lactic acid.
Why do you cut a cross into the top of Irish soda bread?
The cross serves both an essential engineering role and a cultural purpose. Structurally, cutting a deep 'X' nearly halfway through the dough allows oven heat to penetrate the dense center of the loaf so it cooks through without burning the exterior, while directing steam expansion to prevent the loaf from tearing along the sides. Culturally, Irish heritage holds that scoring the bread blesses the table and lets the fairies or mischievous spirits escape so they do not ruin the day's bake.
How long does homemade Irish soda bread stay fresh?
Preservative-free and naturally lean, soda bread is best enjoyed on the day it is baked, ideally within the first 12 to 24 hours. When wrapped in a clean kitchen towel or an airtight bread bin, it remains good for 2 to 3 days at room temperature. After the first day, it is best enjoyed sliced and toasted. For longer preservation, freeze sliced bread in airtight freezer bags for up to 2 months and toast slices directly from frozen.
Leave a Comment